Getting along with winget - basic packed management

During my summer holiday I had a one day break from sunny weather so I decided to use the family tablet to fiddle with some PowerShell. As expected only the standard software was installed on the tablet. I could either start installing everything I need manually or use this opportunity dig a bit into winget . I hope you will enjoy both the basics and the advanced configuration experience shared via this post.
So, for folks who are unfamiliar with Winget, Winget or Windows Package Manager is a comprehensive package manager solution that consists of a command line tool and set of services for installing applications on Windows 10 and Windows 11. It is bundled with Windows 11 and modern versions of Windows 10 by default as the App Installer.
Winget basic commands, install and search
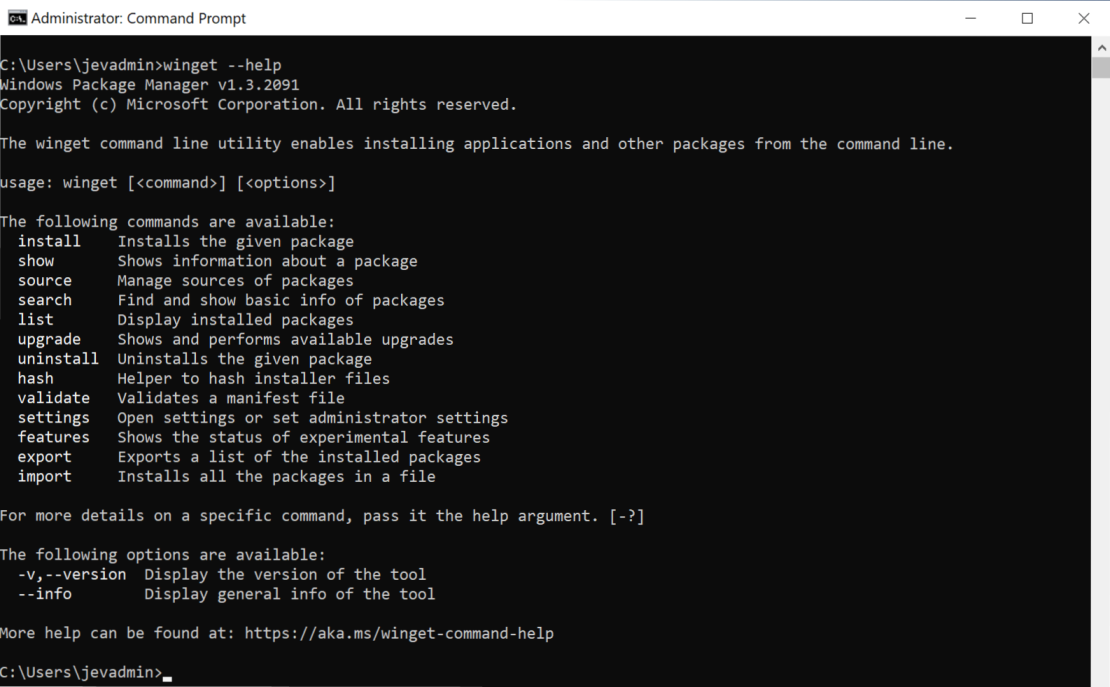
The very first step was to have a look at all the available commands for winget. To do so I simply opened Command Prompt and typed: winget --help
The result is shown in the next screenshot.
In my current case I only need to have Git
and VSCode
installed. Based on the available commands pulled up via winget --help I should either search for the packages using winget search or proceed to installing by using winget install.
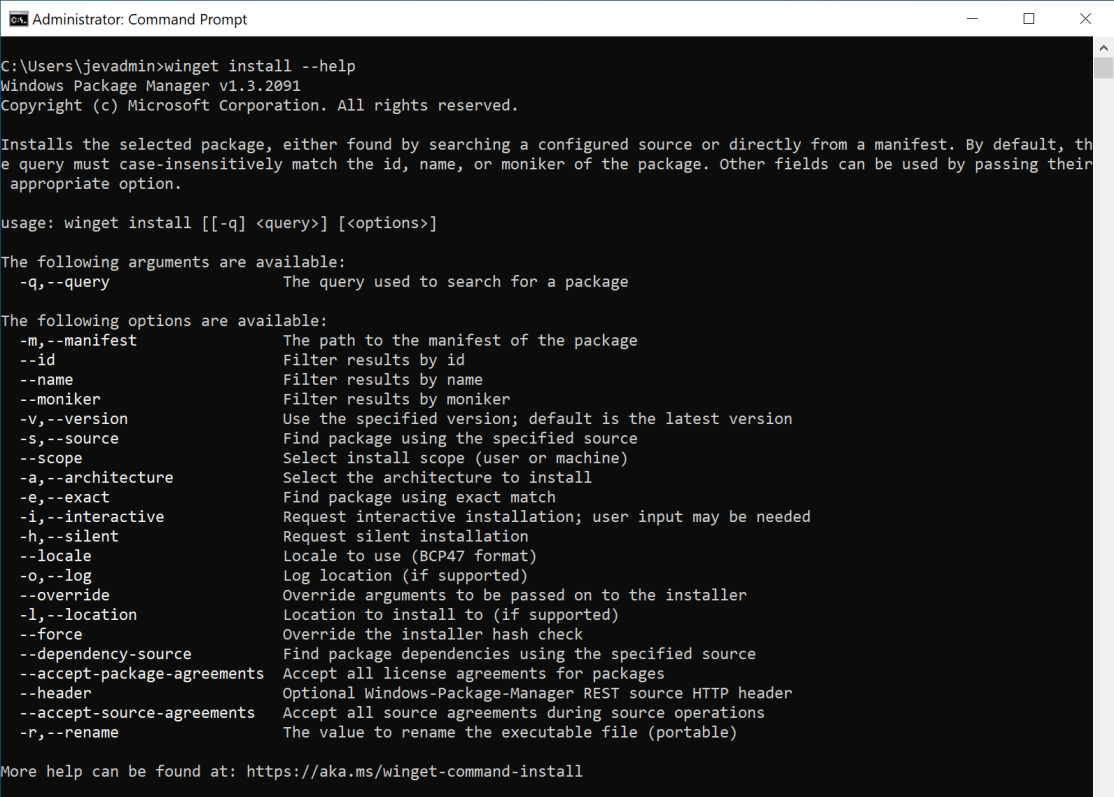
The install command winget install --help looks more promising as it says: Installs the selected package, either found by searching a configured source or directly from a manifest. By default, the query must case-insensitively match the id, name, or moniker of the package. Other fields can be used by passing their appropriate option.
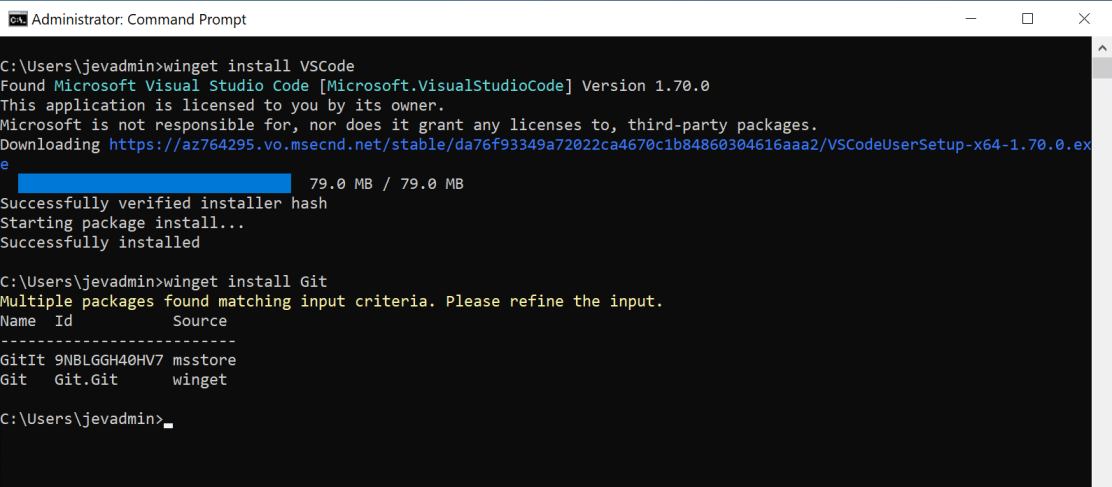
Using the following lines lets give ‘winget install’ a go:
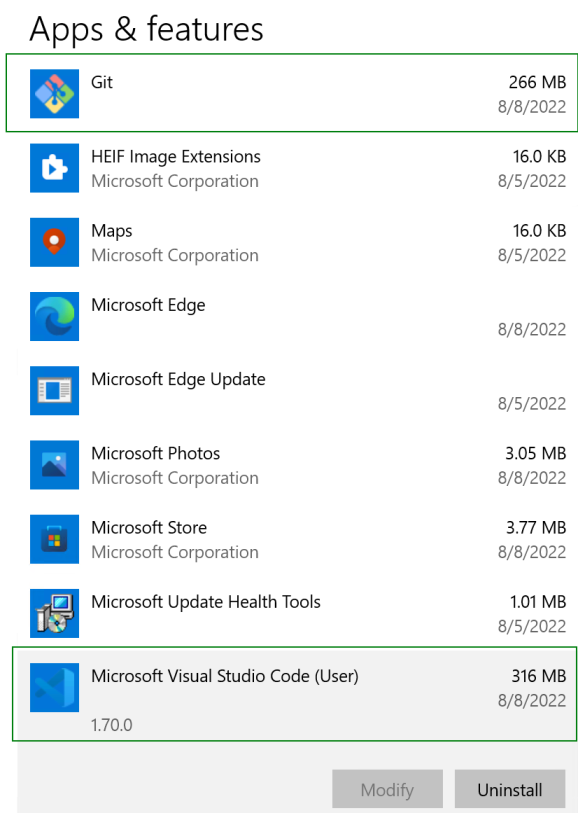
As shown in the next screenshot, by running these commands VSCode got installed directly but for Git I had to use winget install --id Git.Git as ‘Git’ term returned multiple hits.
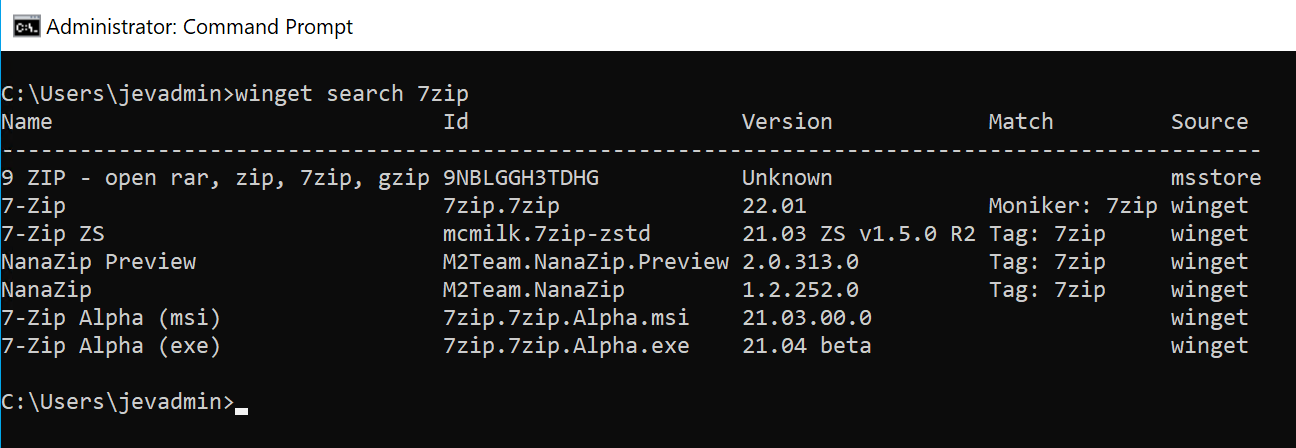
Me being curious I decided to also check out the search command winget search <appname>. As shown in the next screenshot, it works like expected.
As you can see both Git and VSCode got installed successfully.
Reference material and useful links
- Use the Winget tool
- Finding winget packages made simple
- The manifests for all winget packages
- Winget-AutoUpdate
- Example of /mergetasks alternative
- Using command line arguments
Wrapping up
And this is it for the basic usage of Winget. Winget is by default available on any up to date Windows 10/11 machine and in basic usage very accessible. Anyone who needs more control over the installation options will quickly note that when Winget uses the default installation options when installing packages. In my specific case this means that the wide array of installation options offered by Git will be all set to the installation defaults. For VSCode the “Open with Code” context wont be set as the installation default does not have these checked. For those who are interested in how I managed to solve this and get the control I need during the installation process, make sure to read the next post getting along with winget - advanced installation .
Thanks for reading this post and if you liked it don’t be shy and have a look at my other posts .