How to use Library for Azure Pipelines 📗

This is the 6th post in the category Azure DevOps Fundamentals
of the blog post series on working with Azure DevOps
In this post the I will show how to use Library for Azure Pipelines.
Since it much more fun to do research and play with technology in collaboration with others, Wesley Camargo will be covering some of the topics on he’s blog , while other topics are covered by my here. Naturally the all related posts will be referenced between the two blogs.
What is a Library for Azure Pipelines
A Library for Azure Pipelines is an Azure DevOps feature that enables asset management for an Azure DevOps Project. Asset can be either defined in the form of variables which are grouped together in Variable Groups or as so called Secure Files. All defined assets can be used in multiple build and release pipelines of an Azure DevOps Project. Although not really recommended it is also possible to modify permissions to a degree that these asses are accessible by pipelines present in other Azure DevOps Projects within the same Azure DevOps organization.
In Azure DevOps library features like Secure files and Secret variables are secured in the same way as Service connections as all are considered protected resources
Secrets are encrypted and stored in the database. The keys to decrypt secrets are stored in Azure Key Vault. The keys are specific to each scale unit. So, two regions don’t share the same keys. The keys are also rotated with every deployment of Azure DevOps.
The rights to retrieve secure keys are only given to the Azure DevOps service principals and (on special occasions) on-demand to diagnose problems. The secure storage doesn’t have any certifications.
How to create a Variable Group
Variable groups are used to store values in the form of key value pairs where a variable name is used as a key. In addition it is possible to link an Azure Key Vault as variables of a Variable group. Variables groups can be directly referenced in one or more YAML pipelines in the same project.
When defining variables in a variable group it is possible to mark multiple variables as a secrets. When done so these variables are then considered by Azure DevOps as protected resources
. This allows for various combinations of approvals, checks, and pipeline permissions to be added to limit access to the concerned secrets in a variable group.
Lets go ahead an create a couple of variables.
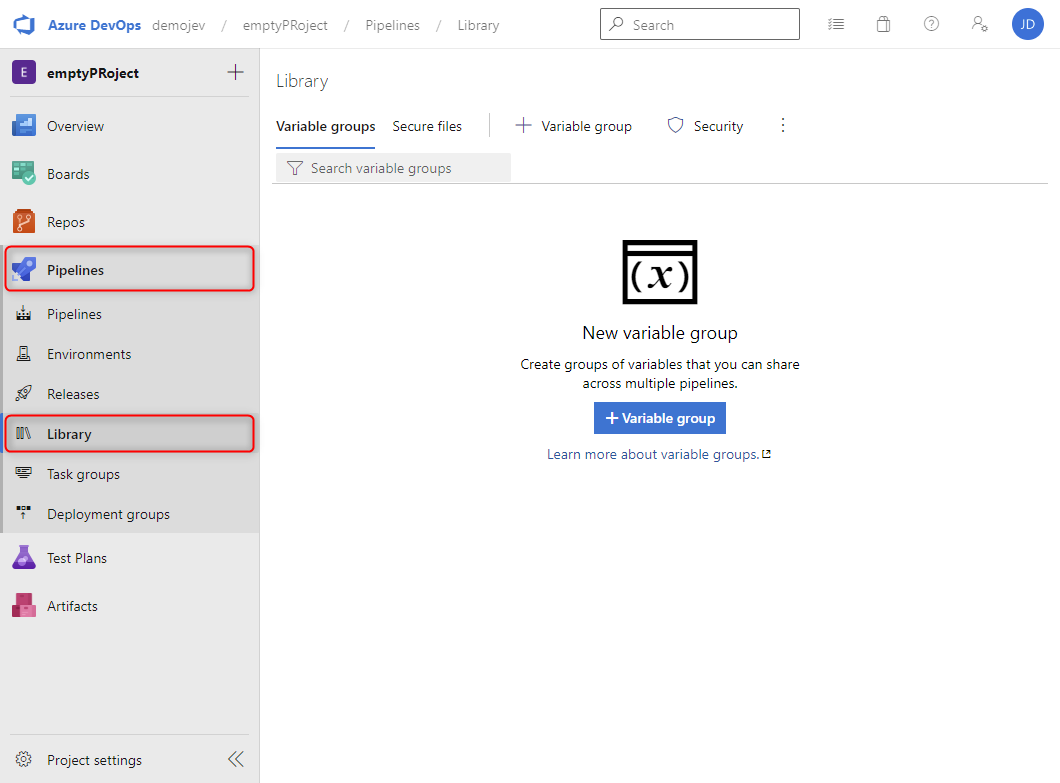
- Assuming you have your Azure DevOps project open, click in the left hand menu on
Pipelinesthen click onLibrary.
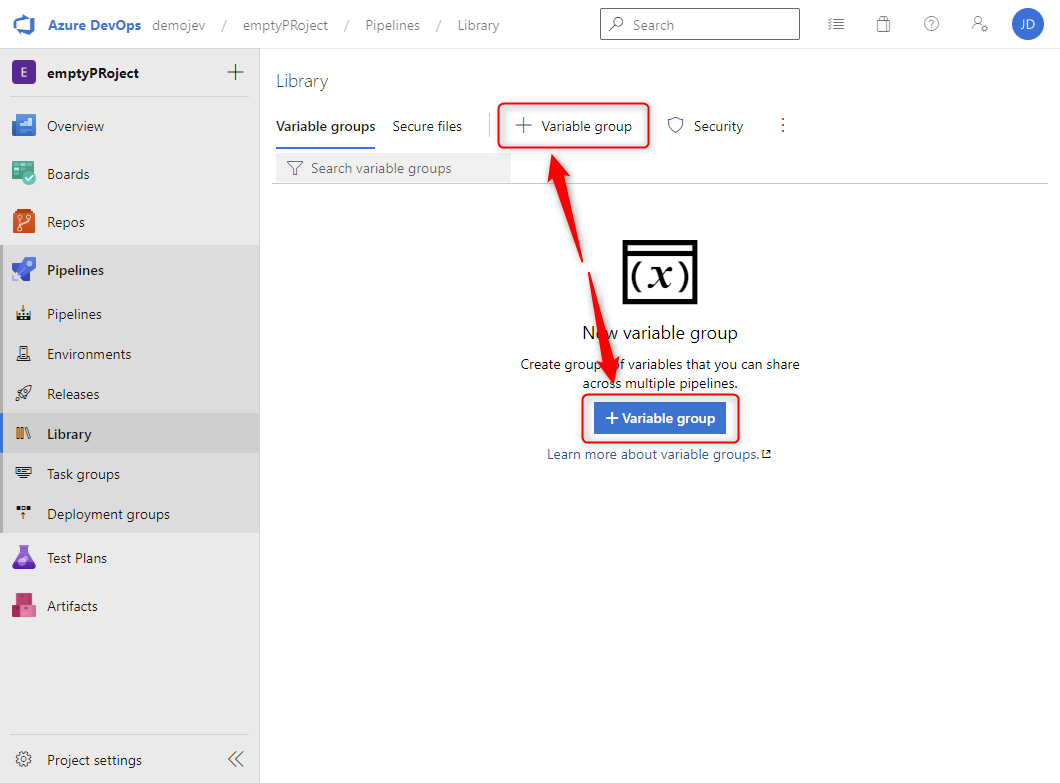
Library - Click on either the
+Variable groupbutton in the middle of the screen or the one located in the horizontal menu.
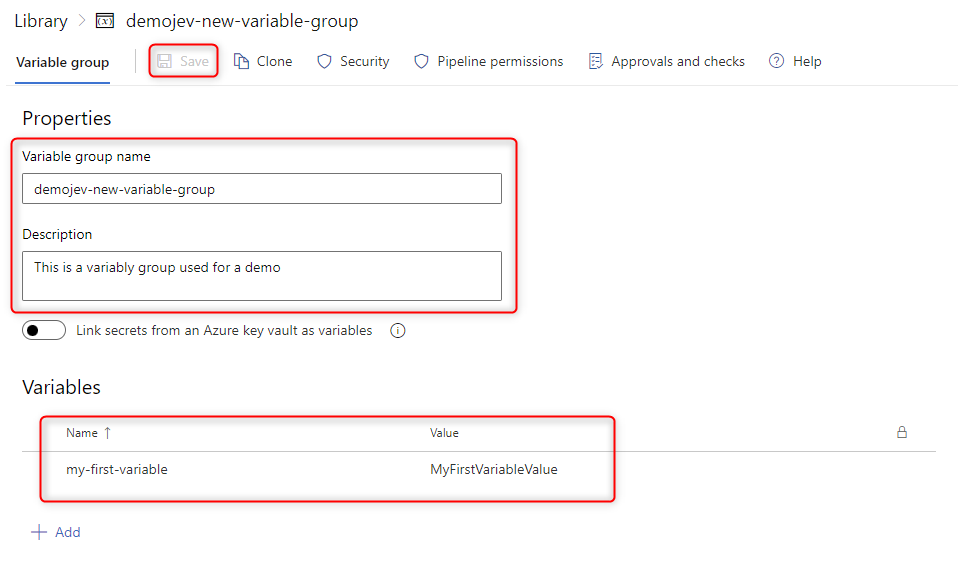
New Variable group - Add a
Variable group name, and aDescription. There are no specific character limitations for theVariable group name, it is not desired but possible to start the name with a # or a @. - A
Variable Groupcannot be saved if there are no variables in it. Proceed by adding a new variable by clicking on the+Addbutton, use a name and value you deem fit. Click theSavebutton in the horizontal menu. The result should be similar to the following image.
New Variable - Next add an additional variable by clicking on the
+Addbutton. Again use a name and value ad you deem fit. Before saving click on the lock icon on the right side of the new variable to change the type to secret. As show in the following image click theSavebutton.
New Secret

In the above step I just created a regular variable and one secret. The regular one is straight forward however the secrets are treated differently. The following applies to secrets:
- Secrets are considered protected resources
- Secrets are encrypted at rest with a 2048-bit RSA key
- Secrets are available on the agent for tasks and scripts to use (be careful about who has access to modify pipelines).
- Secrets are unlike regular variables not automatically decrypted into environment variables for scripts.
- Explicit mapping of secrets is required to make them available for scripts
- Secrets are masked from appearing in Azure Pipeline output
Take precautions when handling secrets:
- Never echo secrets as output
- Never pass secrets on the command line
- Do not use structured data as secrets as substrings of secrets are not masked. If, for example, “{ “foo”: “bar” }” is set as a secret, “bar” isn’t masked from the logs.
How to use Secure Files
Secure files is a feature to like the name suggest store secure files. Generally speaking secure files are often used to store files such as:
- Certificates
- Provisioning files
- Keystore files
- SSH keys
Practically speaking, any document can be uploaded to the Secure files. Lets go ahead upload a file.
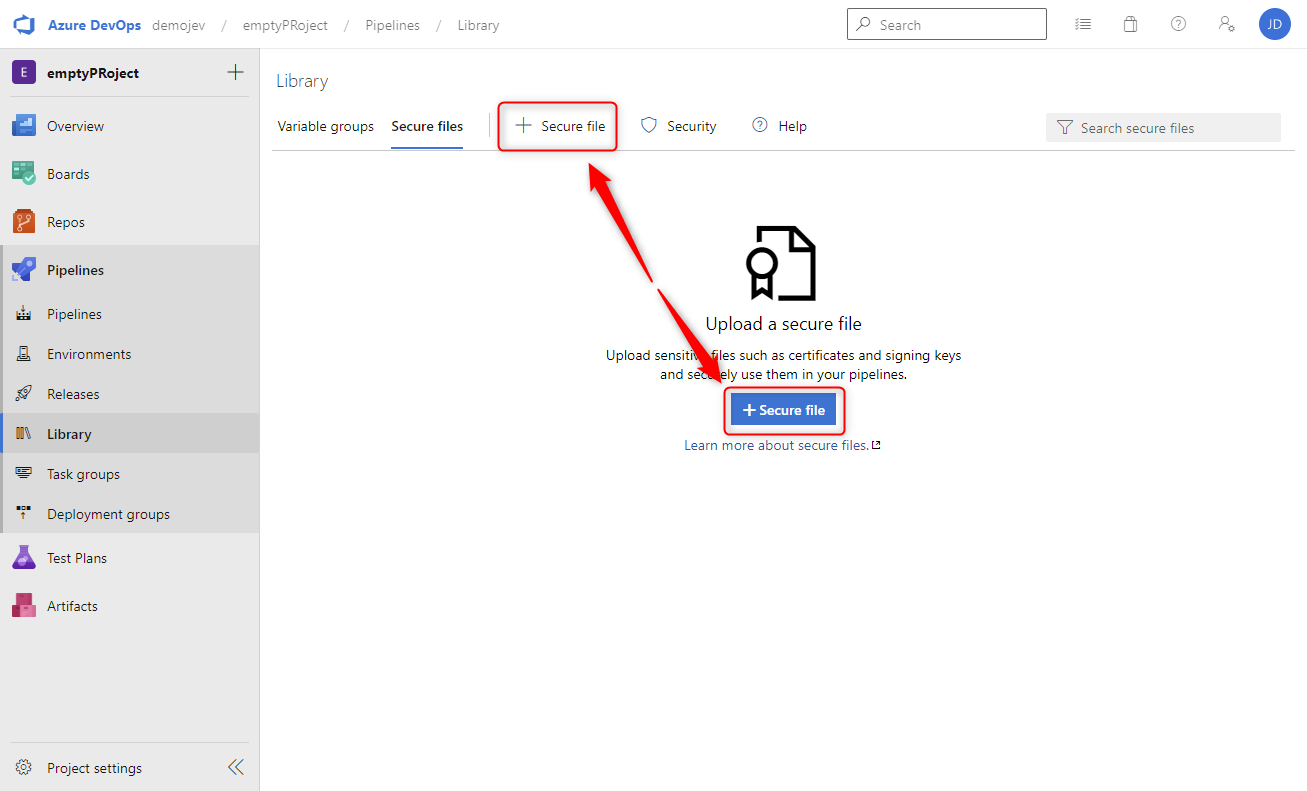
- Assuming you have your Azure DevOps project open, click in the left hand menu on
Pipelinesthen click onLibrary.
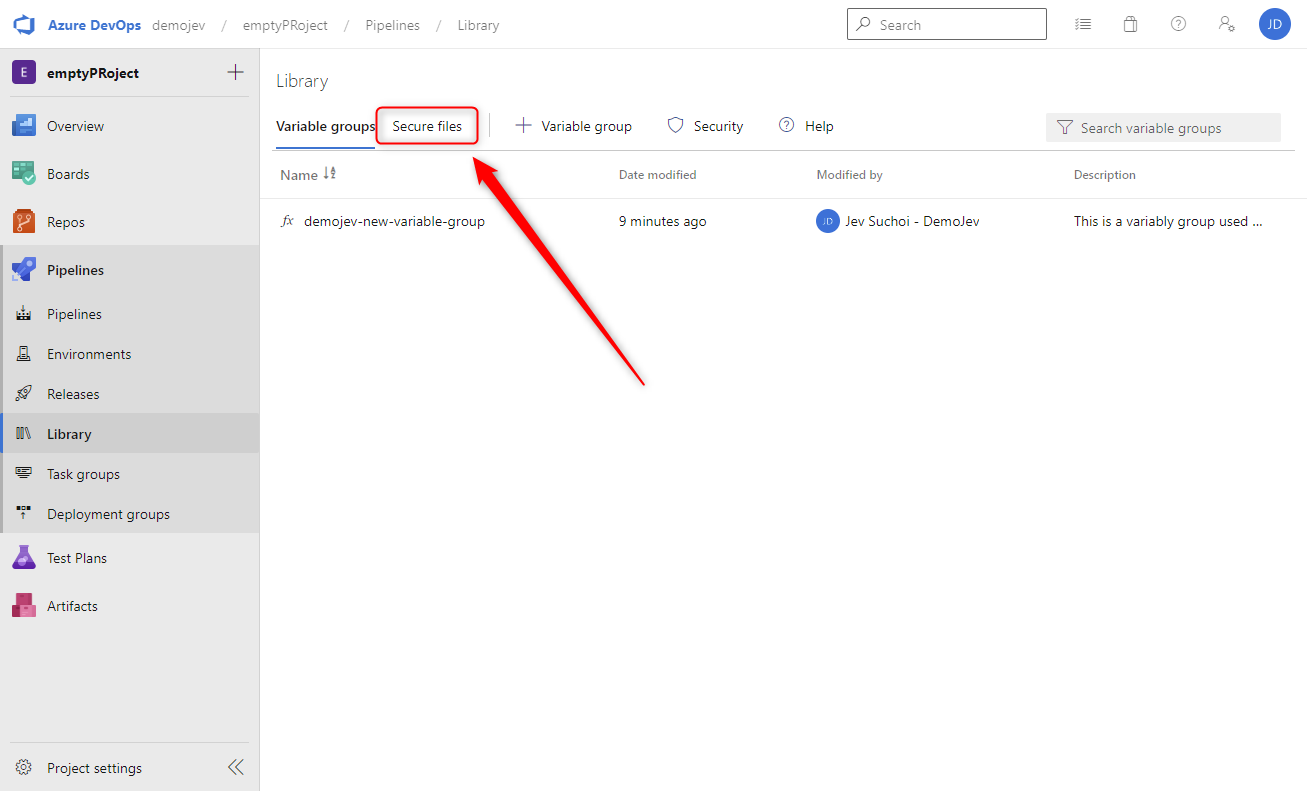
Library - In the horzontral top menu click on
Secure Files.
Secure files - Click on either the
+Secure filebutton in the middle of the screen or the one located in the horizontal menu.
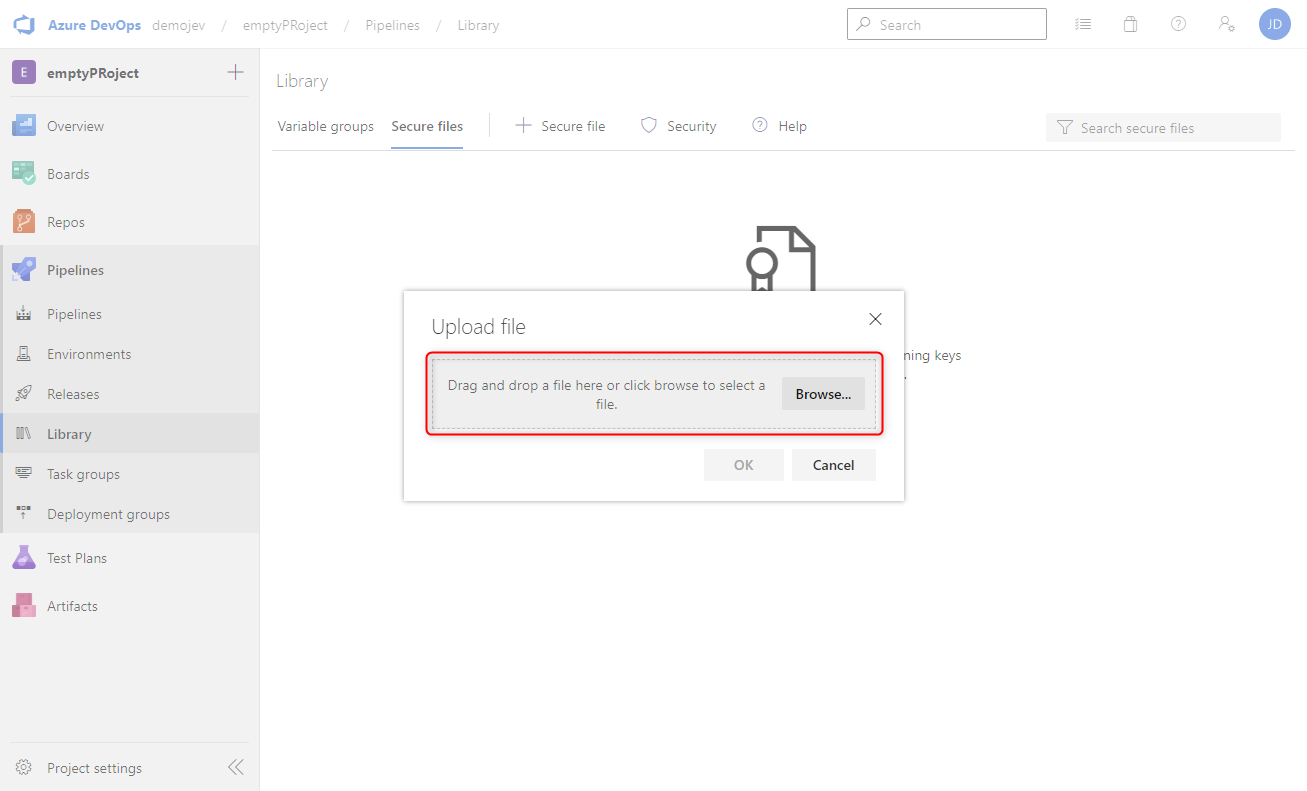
Upload file - In the new window either drag and drop a file select it using the
Browse...button. Only one file at a time cna be uploaded
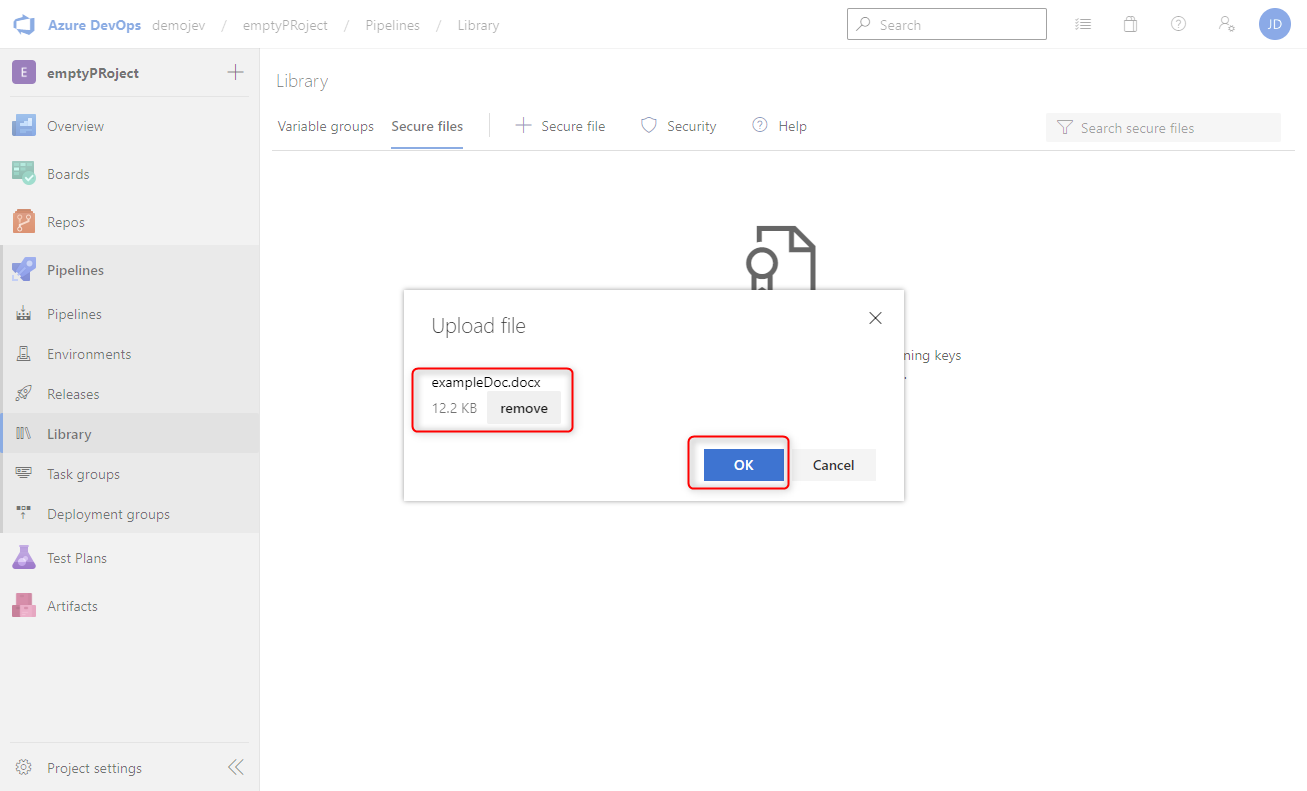
Upload file - After selecting a file click the
OKbutton to upload the file. If the wrong files has been selected use theremovebutton to correct it.
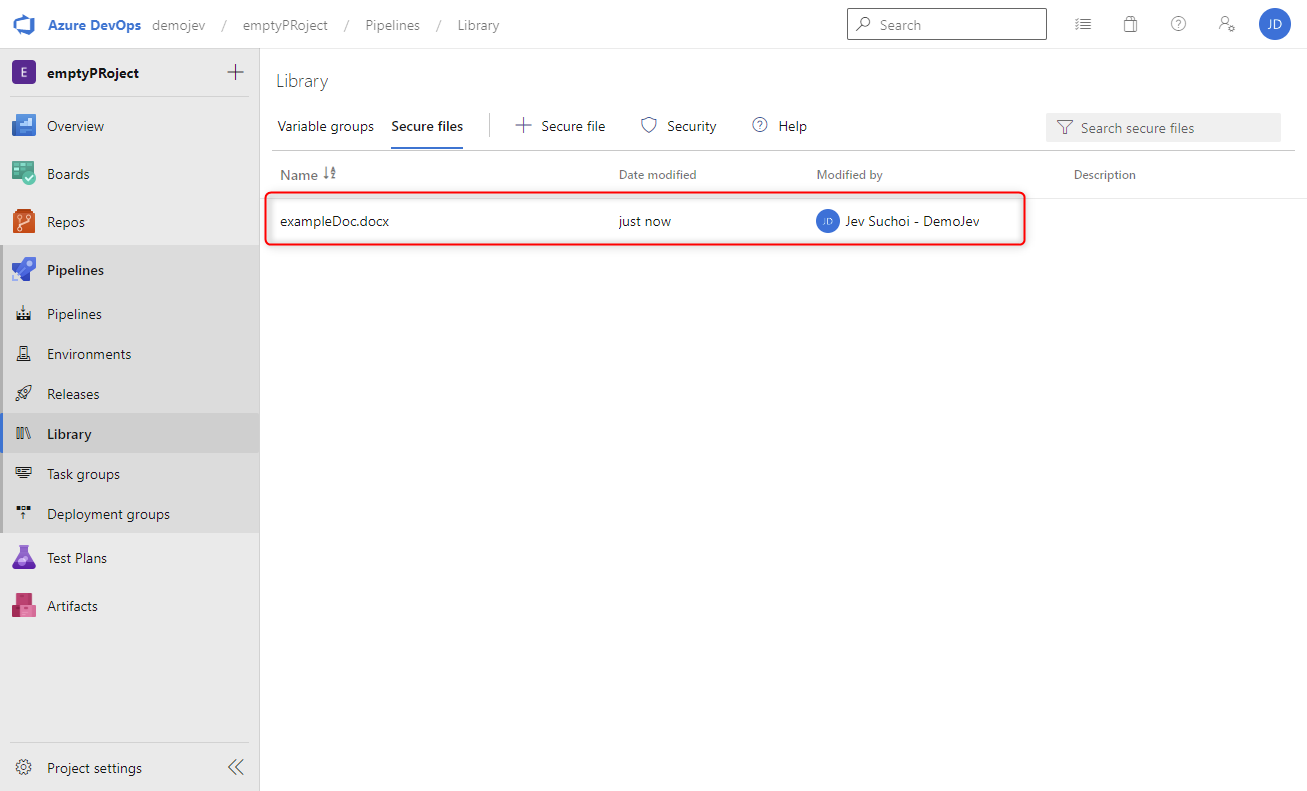
File selected - The result is as show in the following image. Note that I have actually uploaded a Microsoft Word document to show that there is not restriction on file type.
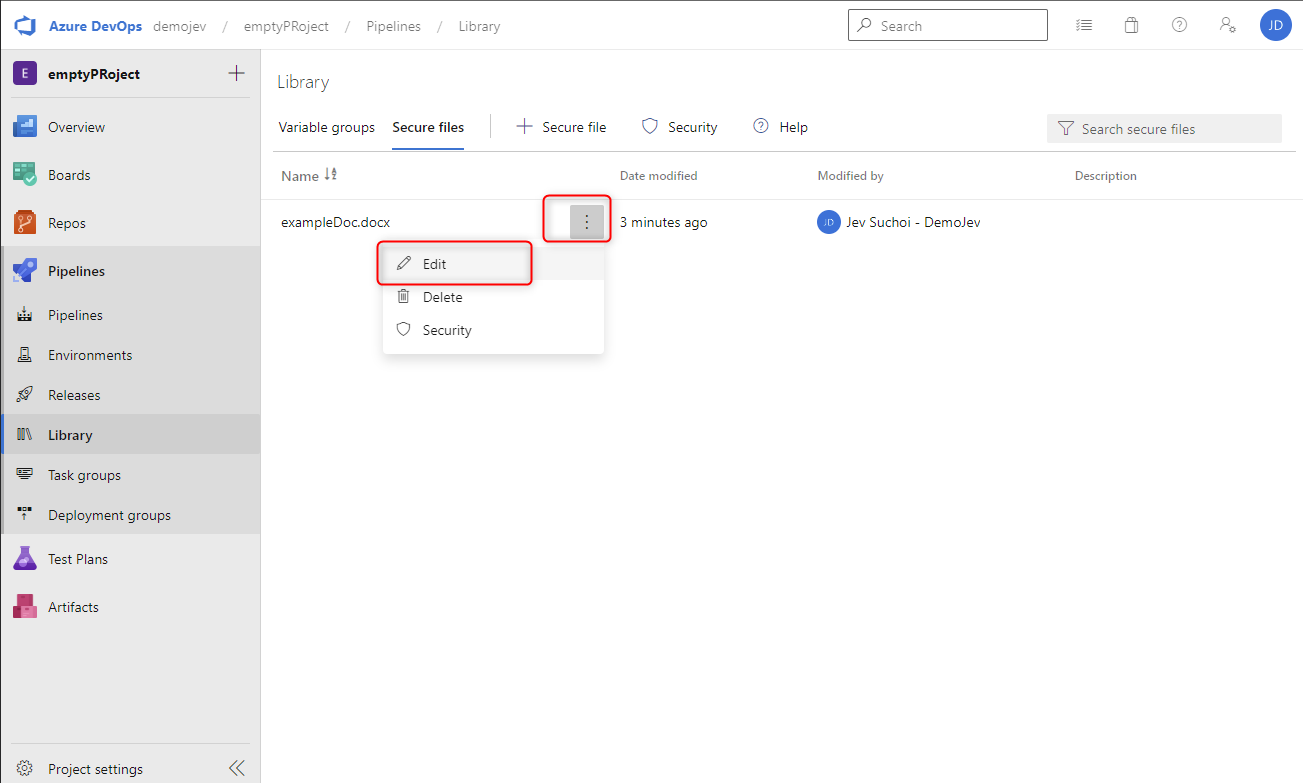
Secure file uploaded - Mouse over the freshly uploaded file and click on the 3 horizontal dots, then select the
Edit option
Edit secure file - When in the edit option, the name of the secure file can be adapted but what is more interesting is that additional properties in the form of Key value pairs can be added to further identify a secure file.
Secure file properties

Wrapping up
And there you have it, How to use Library for Azure Pipelines. If you are interested in the reference material used to make this post, please visit the following links.
- Library of assets
- Set secret variables
- Add & use variable groups
- Pipeline resources
- Use secure files
As always, a big thanks for reading this post. If you liked it, don’t be shy and have a look at my other posts .